
Creating Assessments In Schoology
@LisaBerghoff/@Joe_Edtech
As educators, we are constantly assessing our students.
In the 22 years that I have been in district 113,
the word assessment has come up so many times and in so many settings
that it is evident that it is critical to what we do. We need to be doing ongoing
assessments to adjust our teaching, to determine how and when to
differentiate for our students, to help give feedback and communicate
how our students are progressing. To many, the word assessment means “test”
and sometimes that is true. It is a tool that has to do with how we evaluate our
students’ learning and alter our teaching.
As I continue to work with teachers in each subject area, I can see that teachers
give assessments in so many different forms, shapes, and sizes. Fortunately,
Schoology can handle the wide variety of options and has robust tools to suit many
different needs. Here are the basic steps to get you started.
Start off in your course, sandbox course, or resources. If you are going to use
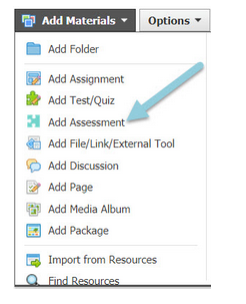
the assessment right away, go ahead and start in your current course. Click Add Materials
and then go to Add Assessment.
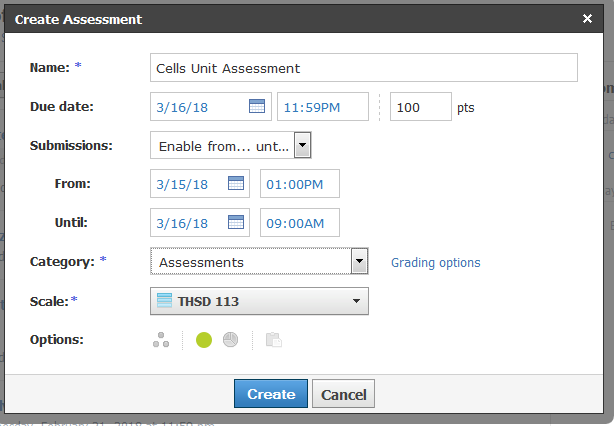
A box will pop up prompting you to name the assessment and set some parameters,
such as when it will be available to students, points, category, etc. Here is one that
I am currently creating for Biology Survey.
After you click the blue Create button, you will be on the Set Up page.
This is where you can enter instructions that the students will see. You also have
many settings to choose from including if you want there to be a time limit, if you
want students to be able to go back and edit their answers before submitting,
and if you want questions to be randomly ordered.
Then, click Questions to begin writing assessment questions. You have the typical
options such as multiple choice, true/false, and fill in the blank; but you also have
some interesting choices like label an image, drag and drop, and highlight hotspot.
As you create questions, you will also enter the correct answer and give certain
parameters at the question level. For example, you can have the options in a
multiple choice question shuffle for each student. When you are done with the
question, you can click Preview Question to see how it will look to your students.
When you have it looking the way you want, click the blue save button.
To see an overview of all of the assessment question types, check out the
Once you publish to your students, you will be able to see all of the data right
there on the same screen by clicking Student Attempts. No need to enter grades
into the Schoology gradebook or calendar, when you publish to your students it will
show up there automatically.
Have you experimented with assessments in Schoology?
Come and join a pd session or a lunch and learn and share what you have done!
No comments:
Post a Comment