Thinglink In The Classroom.

Because Sometimes You Just Need To Link A Thing!
@LisaBerghoff
Welcome to 2019! This is the year of images in education. More than ever before, we know that the brain responds and makes connections when material is presented in multiple formats. For many of our content areas, that means incorporating images in addition to text and auditory inputs. One aspect that I have found frustrating in my class is that I will present my students with an image, but all they can really do is look at it, listen to me, and then maybe write or talk about it. There has not been a good way for my students to interact with images in a way that sparks their curiosity and helps them dig deeper at their own pace.
Thinglink is a freemium, online interactive image tool that first launched in 2010. There are so many practical uses for it in the classroom with images and now you can also use it with 360 images and even create or use already created virtual field trips. When you are presented with a Thinglink image, you will see little icons on the image. Depending on how the Thinglink is set up, when you hover your mouse over the icons, new information in the form of text, a website, or a video will pop up. There may also be music attached to the image. If it is a 360 image, you can click and drag around to get a full 360 perspective and find all of the icons to learn even more.
Check out the Raptor 360 experience virtual field trip from Detroit Public Radio. You can click and drag over the photo to see all of the interactivity that they created here. They also have a "start here" button so you can get some initial information.
Check out the Raptor 360 experience virtual field trip from Detroit Public Radio. You can click and drag over the photo to see all of the interactivity that they created here. They also have a "start here" button so you can get some initial information.
You can find more virtual field trips here.
Basically, you take an image and you can add "tags" to it. The tags can be text or other media like websites or videos. You can even add a tag and enter a url to a google doc with instructions and questions to answer. Once you have created your Thinglink, you can embed it, grab the link to share, or post it to the social media site of your choice.
Here is an example of a very basic one that I made. Hover over the image and notice the green tags that I created.

Beyond using Thinglink as a means of getting information out to students, also consider it as a creation tool for students to demonstrate their understanding. They can create infographics using a tool such as Canva or Google draw, and then use Thinglink to add even more information.
Thinglink is a fantastic way to spice up a typical presentation project that you typically have your students do. Asking them to create an interactive image goes well beyond having students read a bunch of slides in front of the class.
Here is another one that was already created on the Thinglink website. Credit to Global Content.

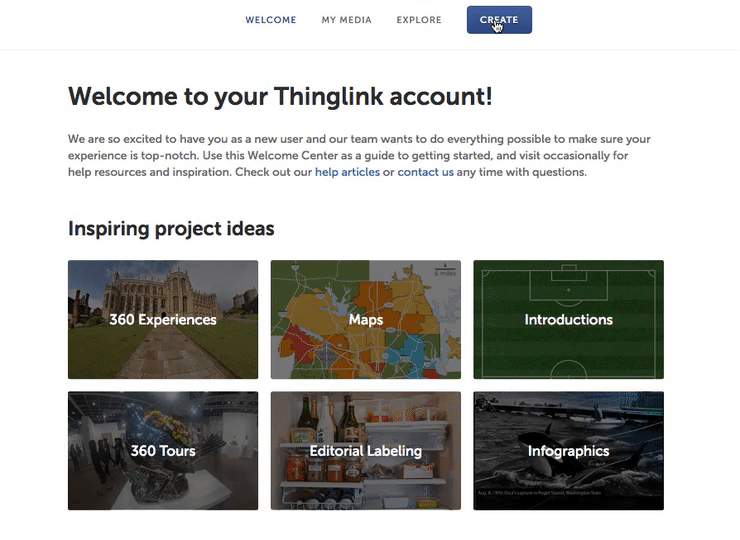
Creating a Thinglink account is simple, just go to Thinklink.com. You can use your Google credentials to create your account if you wish. You can click that you are a teacher and get some additional features such as a class dashboard. Once your free account is created, you can get inspired by looking at already made creations or dive right in and click the create button.
From there you can upload an image, video, 360 image, 360 video, or grab an image from a url. Thinglink supports any type of image and also works with YouTube videos.
There are wonderful built-in supports to help you get started, including some short videos that avoid the frills and just show you what to do. You can save your images on your Thinglink dashboard and you can re-use them or edit them at a later time.
If your students are creating a Thinglink, they can upload the link to your Schoology page as a way of turning it in.
Thinglink is a tool where I can see practical uses for each content area. Are you already using Thinglink? Share your examples in the comments section below.
No comments:
Post a Comment