How Did You Do That??
5 Great Ways To Use Google Drawings

Sometimes I'm in a situation where it seems that there should be an easy way to do something but it just doesn't seem to exist. I find this to be true specifically with images. I'm not a graphic artist and I have not spent a lot of time working with digital images or using software for graphic design. However, I do want my digital documents to look engaging and images typically do the trick. One of the frustrations of working in Google docs is that formatting does not always work the way you think it should work.
For example, I have been using Google forms to collect all kinds of information for years. The designs and images that are built in as options are fine but sometimes I want to tailor mine specifically to my needs. If you have ever added your own images you will notice that often times the formatting is wonky and your image doesn't look quite right as the header for your Google form.
This is where Google Drawing comes in. Did you know that we have Google Drawing as part of the G-Suite tools included with our education accounts? Google Drawing is not as widely known as many of the other Google apps, but it is super easy to use and actually quite robust. If you have ever fought with an image in a Google doc or wanted to take an image and resize it, Google Drawing is your new best friend! Here are the particulars...
You can get to Google Drawing by starting in your Google Drive and clicking on New. Go down to More and click on Google Drawing.

Once you are in Google Drawing, you can take a look at the tools that you have available. The toolbar is fairly simple, but you have many tools and options there. If you are creating from scratch, you can use the shape and line tools. Once you have some shapes you can customize with different colors. By clicking Insert, you will find that you can add tables, charts, and diagrams. There is also a word art tool. Google Drawings works in layers, so if you think about creating an infographic and you might want text, shapes, colors, and a background, you have the ability to put those layers in the order that you want. When you are finished with your creation, you can download it as a jpeg, png, pdf, or scalable vector image.
You will notice that Google Drawing has all of the same collaboration features as Google docs. You can share, make comments, and utilize accessibility preferences. Everything you create in Google Drawing will save to your Google drive. You use the same blue share button to invite your colleagues or students to edit or view.
Here Are 5 Great Ways To Use Google Drawing...
1. Customize Your Google Forms Header.
I cant take credit for this one. There is a wonderful template created by Wanda at IgnitionEdu.com that has instructions and is simple to use. Make sure you download your image as a png file and you can have your Google forms headers match whatever it is that you are doing. To access the template with instructions, click here. I used the template to make this Thanksgiving form.
2. Customize Your Schoology Course Tile.
Many of you have discovered that when you customize your Schoology course tile with an image, it is not only helpful to students when navigating to your course, it shows you have taken that extra step in caring about the course. It's almost like decorating your classroom. The problem is that many staff members have been grabbing images off of the internet. While this is a problem for several reasons that we won't discuss right now (it starts with a C and sounds like Shmoppyright), the image often does not fit properly in the tile and it either looks distorted or you can only see a small part of it.
This is where Google Drawing comes in. When you open Google Drawing, go to File then Page Setup. Set the first dropdown tab to Custom and then set the units to Pixels. You will want to set it to 350 X 100 pixels. You will see the canvas resize. You can then create or import images into that space, download as a png, and then add that image to your Schoology tile and it will look great!
Here are some custom tiles that I made for my classes. I mostly just used shapes and text.

3. Images In Google Docs Format Better When Created In Google Drawing.
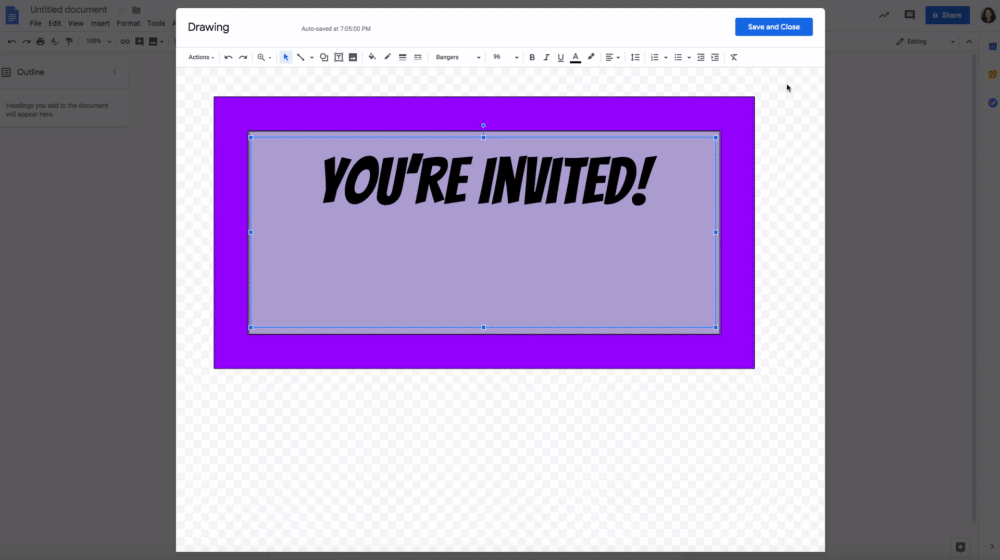
Have you ever had an idea in your head of the layout of a document? You knew where you wanted the images, text, tables, etc. but for some reason it was difficult to get the image on the screen to match what was in your head. The good news is that Google Drawing works seamlessly with Google Docs. While in your doc, click on Insert and then Drawing. A Google Drawings screen will open. Create what you want, how you want it, on the Google Drawing screen and when you click Save and Close, it will be automatically imported into your Google Doc. From there you can choose to have the text wrap or break or stay inline with the image. You can always go back in and edit the image to your specifications. This is a great way to make sure everything is lined up and sized the way you want it.
4. Easy Easy Easy Infographics!
So many of us are using infographics in the classroom. Sometimes we use infographics to share information with students, but more often we are asking students to create infographics to show us what they know and understand. There are lots of great free tools for making infographics but Google Drawing is the simplest AND it has collaboration features already built in. If you are having a group of students working together, this is the way to go. I know it is not as flashy as some of the other tools, but you can use Google Drawing to make some high quality infographics and it won't take long for your students to learn and understand how to use it because it's Google. It also has the added bonus of automatically saving to Google drive. Imagine that Google Drawing is like your digital poster board. This one is easier to access, share, collaborate, save, etc. Here's an infographic I just whipped up.

5. Design Your Own Logos and Badges.
As more and more of us are using badges to gamify or other ways for students to understand their progress, there becomes an increasing need for eye catching graphics, logos, and badges. Again, I am NOT a graphic artist! We do have some very talented staff and students who could probably really put Google Drawing to the test. But for the rest of us, this tool is all we need to make what we need and not rely on websites or pulling graphics off of the internet. Want your students to take some ownership? Why not have them design and create logos and badges for your class.
Just as an example, here is a logo I just made in about 2 minutes. Imagine how good these would be with more time.
And talent!
Give Google Drawing a try! Let us know how it goes.
No comments:
Post a Comment